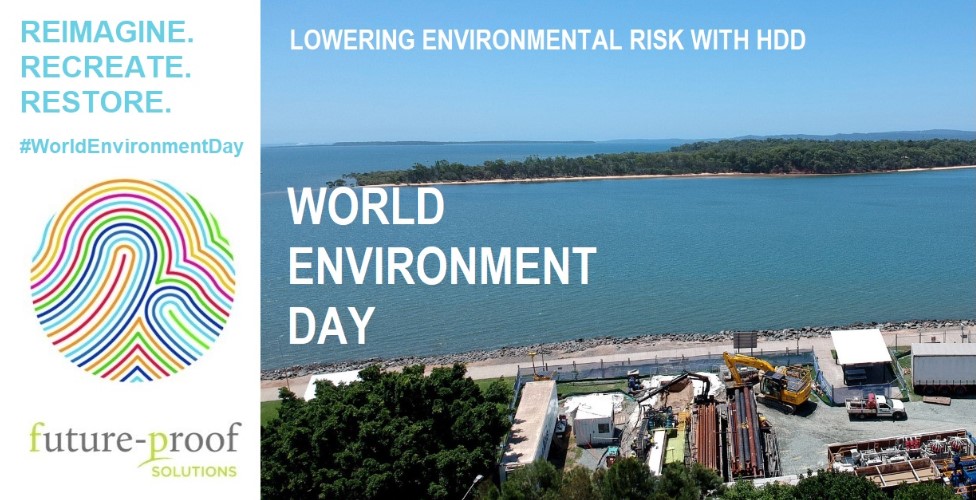
We’ve written many times about how trenchless technology is a great way to minimise environmental destruction and environmental risk on pipeline projects. As we all know, by using trenchless technology, there’s no need to dig along the alignment of the pipe – meaning that everything between the pipeline start and end points – be it bushland, waterways, or protected environmental areas – can remain undisturbed and undamaged by the pipeline deep below.
We’re pleased to see that trenchless technology is being used more and more in pipeline projects here in Australia and beyond. However, with trenchless technology gaining popularity, we sometimes come across trenchless designs that lack straightforward safety in design aspects which, when implemented, can mitigate environmental risk. By reimagining designs with these simple rules applied, environmental risk can be minimised to negligible in many cases – providing positive outcomes for everybody.
So as tomorrow, June 5, is World Environment Day, with the theme of Reimagine.Recreate.Restore, let’s take a look at three great ways to incorporate safety in design into HDD crossings in order to even further mitigate environmental risk.
Rule #1: Accurate Assessment of Geotechnical Conditions
Knowing what you will need to drill through is critical to environmental risk mitigation and safety in design in every HDD project. This is because ground conditions have a major impact on risk of hydrofracture (or frac-out) – generally, the softer and more fractured the conditions, the higher the risk of hydrofracture. Knowing what you’re drilling through allows you to effectively plan your profile and alignment, tooling, equipment, drilling fluid mix, and so on, and to optimise these aspects of the project to the particular ground conditions. Leave this unknown, and you risk making poor choices and overestimating/underestimating what is needed – resulting in an increased risk of hydrofracture due to softer or weaker than expected conditions, not to mention money wasted on suboptimal equipment, inaccurate scheduling and budgets due to faster or slower than expected passes, and so on.
Knowing your ground conditions is also of huge benefit when it comes to steering the HDD crossing – more on that in rule #3.
Rule #2: Plan Your Vertical Depth
We often come across HDD designs with inappropriate vertical depth of cover – more often than not, very shallow ones. While it’s tempting to stay shallow, as this can often mean a shorter (and thus cheaper) crossing and staying in softer (and cheaper to drill) ground conditions, this can also be problematic.
Shallow crossings mean lower depth of cover above the borehole, and lower overburden pressure. Particularly in softer ground conditions, inadequate vertical depth of cover can mean that the downhole drilling fluid pressure overcomes the overburden pressure, and the fluid follows the path of least resistance to release the pressure – namely, via a frac-out to surface.
While it’s not to say that a deeper crossing is always better – there is no “one size fits all” – choosing to stay at shallower depths needs to be an informed decision. While it can be a good choice in many instances, it can be a poor one in others – so every borehole needs to be judged on its merits (and the results of hydrofracture analysis), and the best option chosen for every individual situation. If hydrofracture is not an option, a deeper, lower-risk HDD profile may be a wiser choice.
Rule #3: Optimise Your Borehole Geometry
Borehole geometry plays a critical aspect in the constructability and hydrofracture risk of HDD crossings. Basically, by minimising the vertical curve in a crossing exit to surface, steering can be simplified and hydrofracture risk decreased through rotating out at lower pump pressure. This is because, whether using a jetting assembly or mud motor, steering pilot hole tooling through a vertical/horizontal radius requires the maximum drilling fluid pressure, whereas rotating in a straight line requires lower pressure (and thus less risk of hydrofracture). While generally not so important in the deepest sections of the bore, as depth of cover provides protection from hydrofracture, it should be a vital consideration during shallower sections of the bore, such as when approaching exit – “rotating out” rather than “steering out” should always be considered first.
Understanding your geotechnical conditions also plays a major part in optimising steering. By knowing and anticipating what you will be steering through on pilot hole, unplanned deflections of the bit can be minimised. This is particularly important when using a mud motor, as the survey probe is located up to 15m behind the bit, and this unavoidable latency between the bit and the survey probe, combined with unknown geology, can result in difficulty maintaining consistency in steered direction.
Conclusion
HDD crossings are never “one size fits all”. What may be the best option for one crossing may not apply in another, as many individual factors must be balanced in each crossing to get the best outcome. And we’ve only mentioned three of the many, many factors of safety in design that can be applied – we haven’t even mentioned casing, entry and exit angles, or the many more that come to mind. By ensuring that you know what geology to expect, you have an appropriate vertical depth, and your steering will be simplified and as consistent as possible, environmental risk on HDD crossings can be further lowered, resulting in positive environmental outcomes – not to mention positive effects on budget and schedule too.

